The system allows users to create, edit and maintain warehouse locations easily.
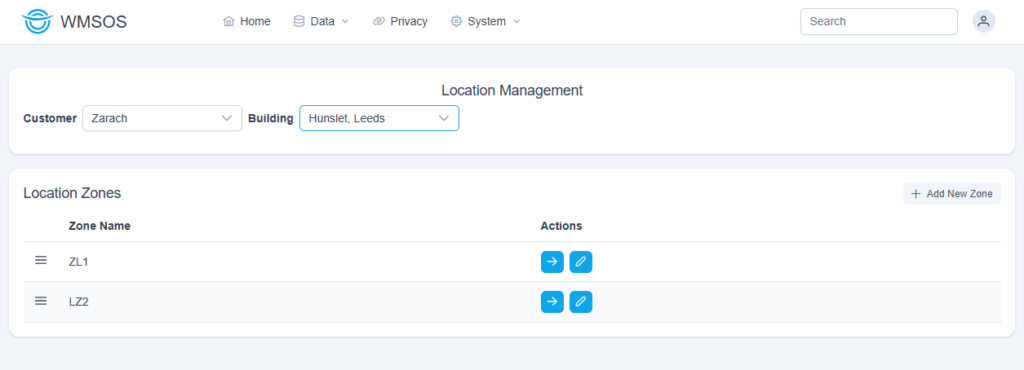
System > Locations
Selecting a customer and building will display the current location zones. These are areas of the warehouse which contain specific locations.
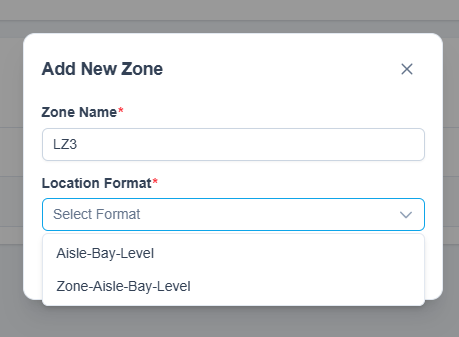
You can add a new zone and specify the zone name and location name format:
You can amend this information using the Edit button:
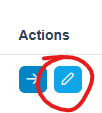
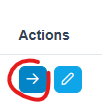
Click the actions button to view the location rows within a zone:
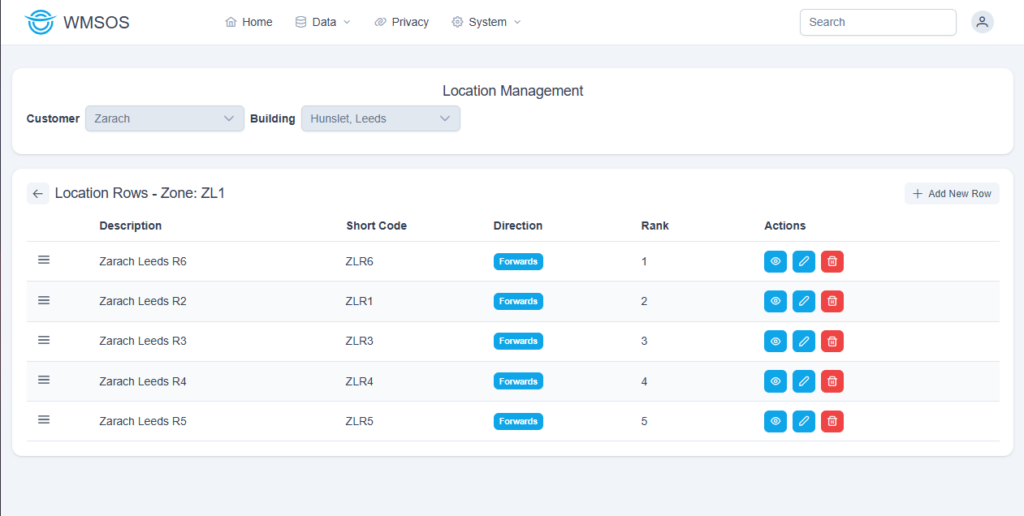
Here you can see all the location rows:
There are three action buttons for each row:
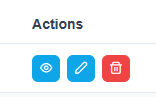
View – View all locations for a specific row
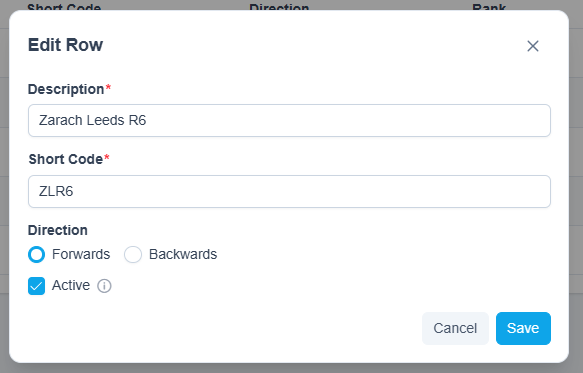
Edit – Edit specific row details:
Delete – Delete a row
Note: you cannot delete a row with existing locations
The view button allows users to drill down further and view all the current locations for a row:
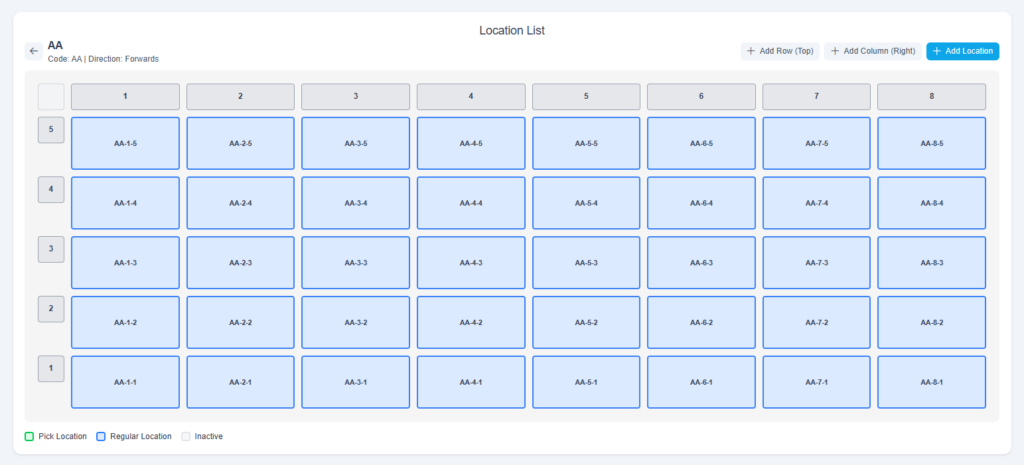
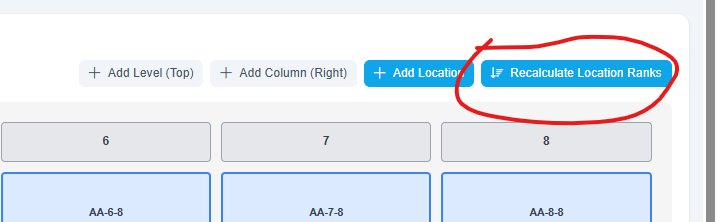
If you add/remove locations you can use the Recalculate Location Ranks button to do just that. This will update the ranked list to match the new layout.
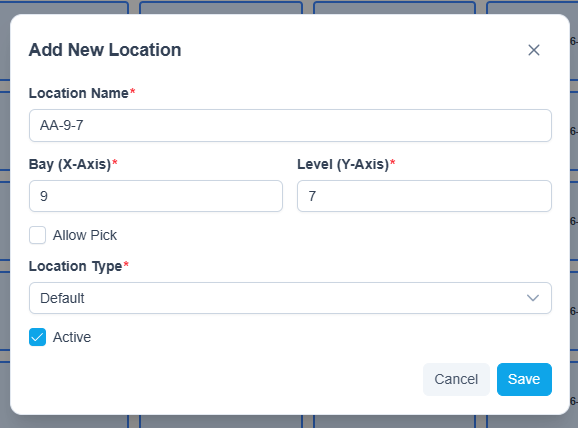
Click on a location to view and edit it’s details:

There are three functions to create new locations:

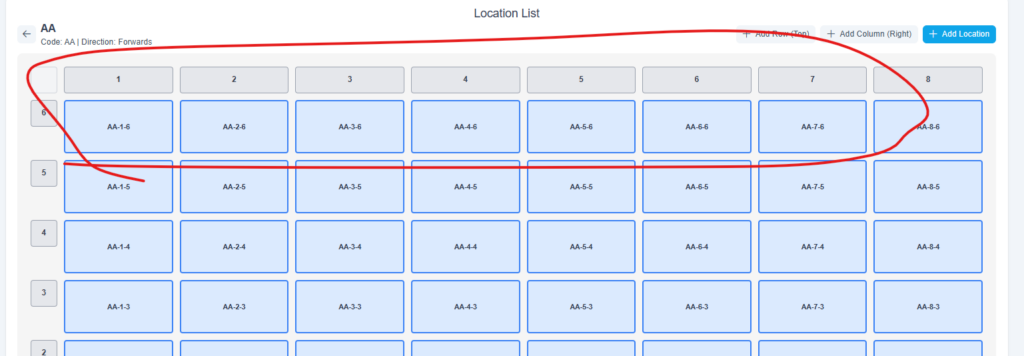
Add Row (Top) – Adds a new Level at the top of all existing locations. Users will see a notification before committing to creating a new level:
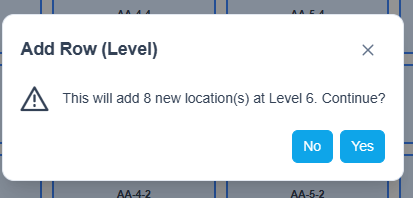
Click Yes and the new level is added:
In the same way you can use the Add Column (Right) button which will place your new locations to the far right.
If you only want to add a single location, use the last button: